
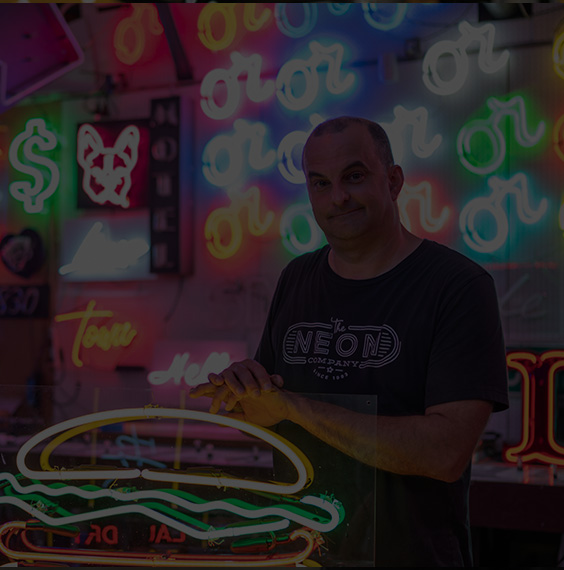
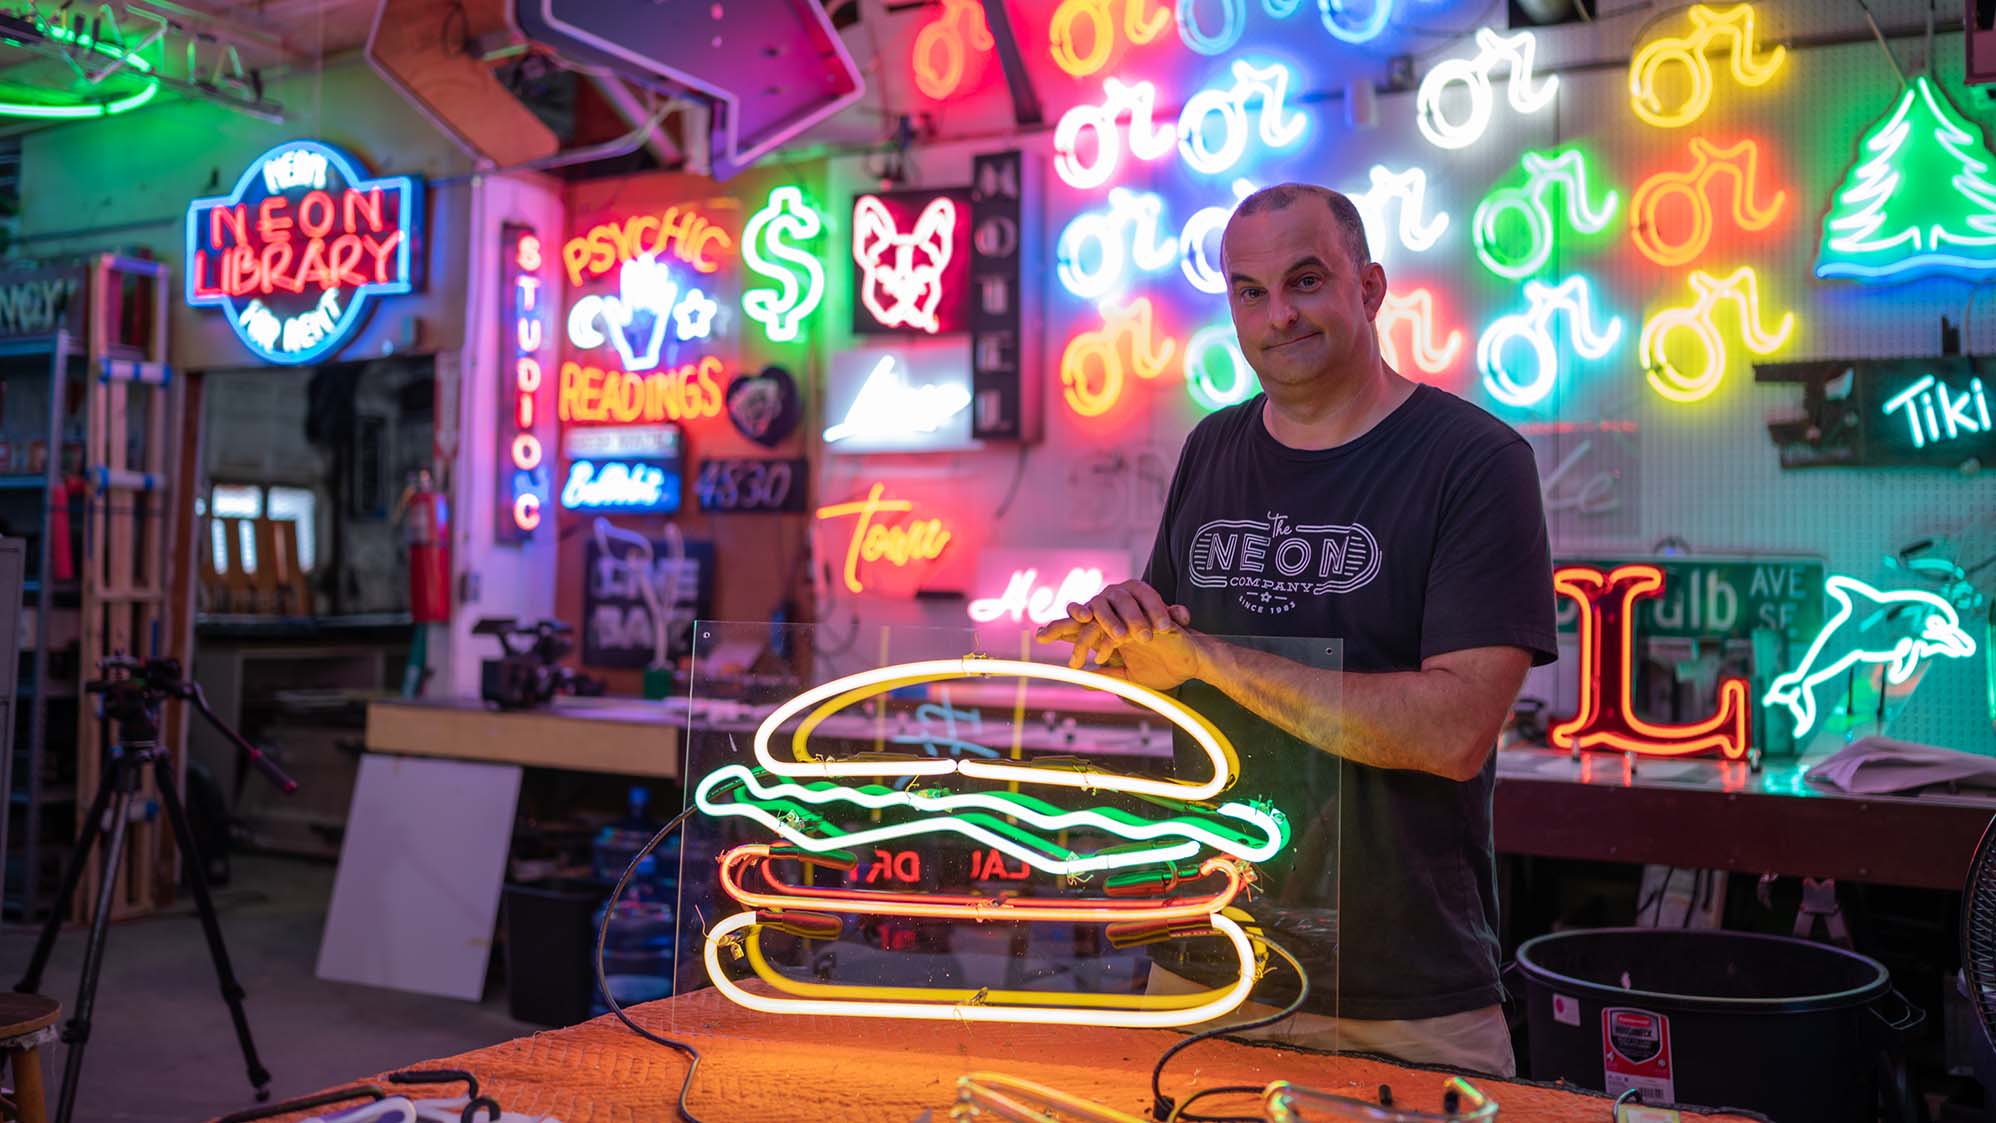
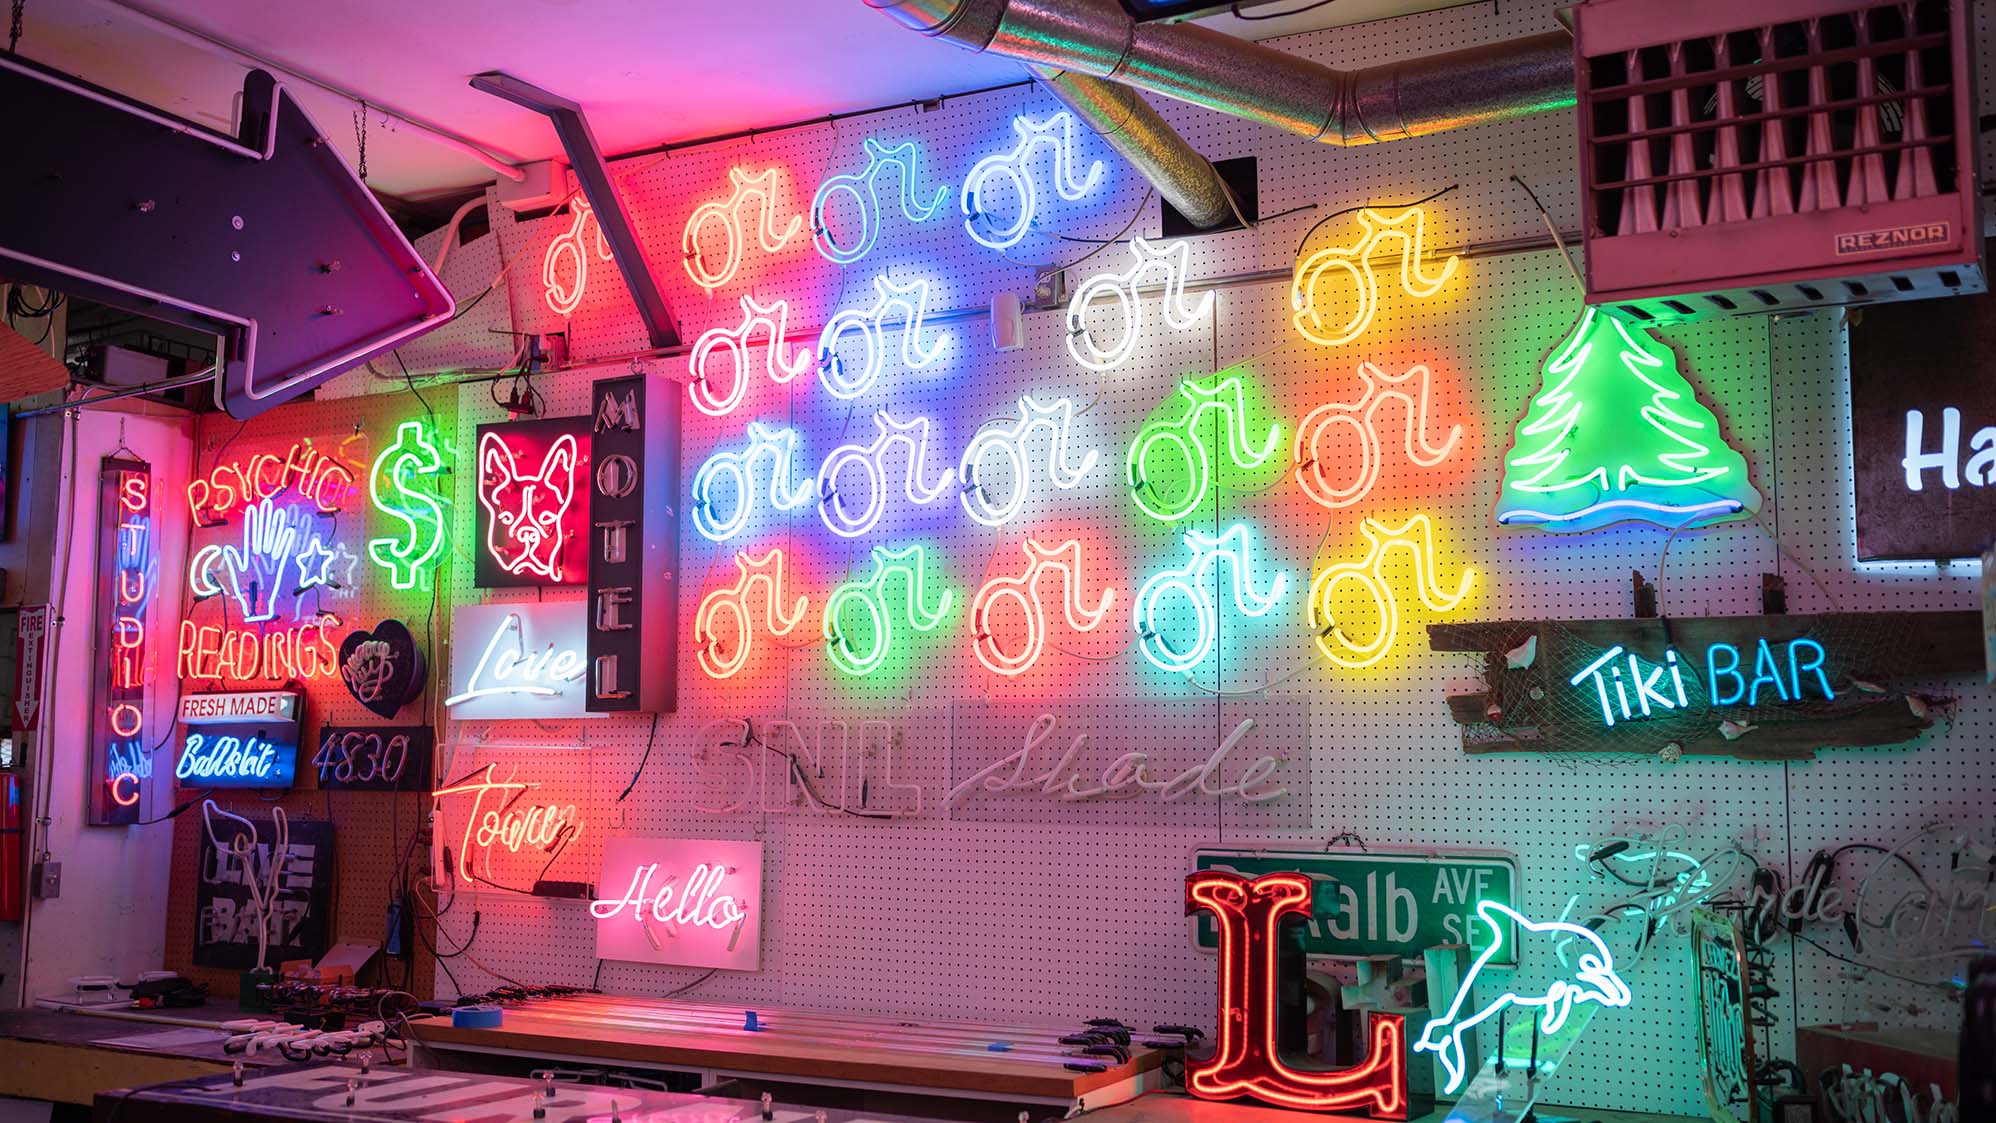
For Craig Weido, there’s nothing better than putting on some music and getting lost in the glass. As the production manager at the Neon Company in Atlanta, his fingerprints are on signs that can be seen all over town, in television shows and at the movies. He told us about the business and explained how to make a neon sign.
This interview has been edited for clarity.
Here at the Neon Company, we make all kinds of signs.
We do a little wholesale work for guys in crane trucks who fix neon signs at gas stations and big box stores. They bring the tubes back to us, we remake the letters and then they put them back in. We do signs for mom-and-pop restaurants, especially in the neighborhood—we try to take care of East Atlanta and make sure it sparkles with neon. We do set decoration for the film industry, and we’ve stumbled into the wedding industry. We make fun signs for man caves and for any kind of family event.
Whatever kind of sign we’re working on, there are a few basic steps for making it.

Creating the Pattern
Old-school tube benders may draw patterns by hand and even use overhead projectors, but we use software. That way we have everything in the computer in case we need to replicate it or scale it up or down.
When the pattern comes off the plotter, we inspect it for any areas that are too tight to capture with neon tubes. An element that’s too small will look like a light blob. We need things to be clean and easy to read at a distance. Most neon signs are seen from 20 feet away or more, by people who are on the move—walking or driving by.
The sign that we're making today is for our rental collection. We keep our rental signs to a reasonable size so they’ll work for any location—they’ll fit in most windows and they run on the smallest transformer possible
Bending the Glass
Next, we bend the glass to the pattern at the bending table. We try to hit the pattern as close as possible, but a neon tube is a handmade product, so there can be some variation. Sometimes we’ll laugh and say that the pattern is just a suggestion.
We work with two sets of fires—ribbon burners and crossfires—which are somewhere between 1,800 and 2,000 degrees. After heating part of the tube for three or four minutes, we’ll have about 30 seconds to bend the glass and set it on the pattern.
We might bend three or four inches of glass at a time, and we need to apply the heat consistently across that area. We don't want the first two inches to overheat and bend into an unexpected orientation.
When we’re bending the glass, we cork one end of the tube and connect a blow hose to the other end. As the glass gets hot, gravity will start to collapse the tube. At that point, we’ll blow a small puff of air to reshape the glass and bring it back to its natural diameter.
After we bend the glass, it takes another three or four minutes to cool down. That’s why we usually work on three tubes at a time—so we can bend one tube while the others are cooling.

Processing the Tubes
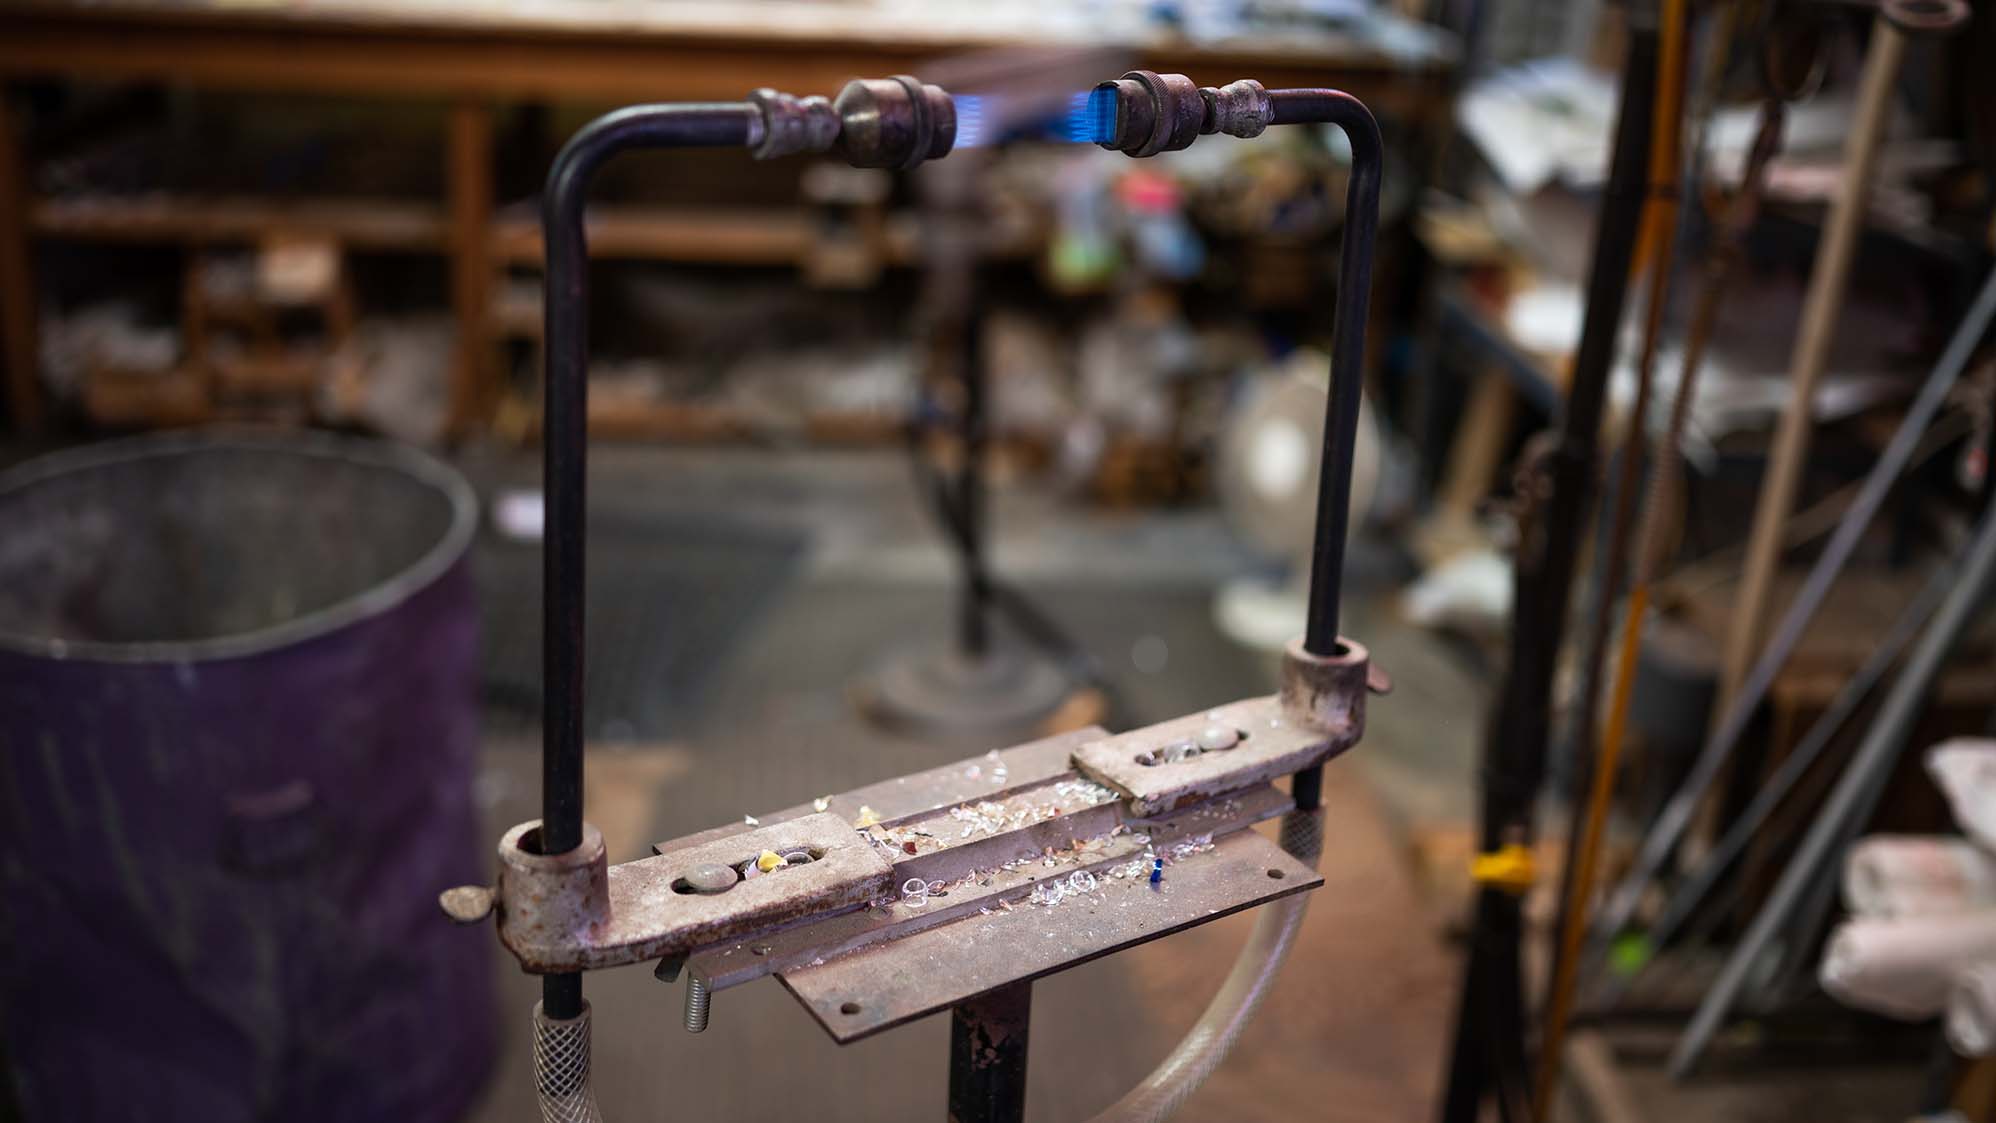
The next step is to process or pump the tubes. We put the tubes under a vacuum, which draws out all the moisture and dirt. We also hook the tubes up to a bombarding transformer, which heats up the glass to 450 degrees. That cleans the glass and makes a vacuum inside the tube. After the tube cools back down, we inject either neon or argon gas into it.
In a clear tube, neon will be red and argon will be blue. To get other colors, we use powder-coated tubes. So if we have a green powder-coated tube and put red gas into it, it’ll light up orange. But if we put blue gas into it, it’ll light up green. So we can get two different colors from any given tube, depending on the gas.
Blockout Painting
Next is the blockout process. Bending a neon tube is like writing without being able to pick up the pen from the paper, and blocking out is how we hide the connecting elements. We use a special paint to hide the light in any areas that we don’t want people to see. We can dip the tubes into the blockout paint, or we can brush it onto them.
Creating the Background
Now we’ll cut a piece of material for the background. We usually use clear, white or solid black material. We lay the tube on the background and mark where we'll place the brackets that support the neon tubes. We'll drill or screw for pop rivets, depending on what anchor system is used on that project.
Lighting It Up
Finally, we’ll mount the transformer on the back, assemble the glass in front, add the wires connecting each tube to the transformer. Then we just plug it in and light it up.
A lot of signage is being changed over to LEDs, but there are still people going into the neon industry—especially the artistic and creative sides of it. You can fall in love with bending the glass.
The information contained in this article is intended for general information purposes only and is based on information available as of the initial date of publication. No representation is made that the information or references are complete or remain current. This article is not a substitute for review of current applicable government regulations, industry standards, or other standards specific to your business and/or activities and should not be construed as legal advice or opinion. Readers with specific questions should refer to the applicable standards or consult with an attorney.


CONNECT WITH US


SIGN UP FOR EMAIL
Get more great content in your inbox.